
If you are going to create your own website and have decided to use this tool, you are probably wondering right now how to install WordPress to start working.
The truth is that this CMS is one of the most popular on the market. Its ease of use, the community around it and the number of plugins that provide extra functionality have made it the quintessential option for those who decide to open a web page.
However, to get to that point, you need to install WordPress first. And for many, it is not an easy process. So how about we explain how it’s done?
How to install WordPress: step by step
Before explaining how to install WordPress, it is important to note that there are two ways to do it: manually and automatically. That without counting the possibility of installing WordPress locally.
To facilitate the process, we will take as a base an automatic installation. It is simpler and will be of great help for those who do not have too much technical knowledge.
1) Buy your domain
If you haven’t already done so, the first step in installing WordPress is to purchase your web domain . You can buy it from the same provider as your hosting or from a different one. The most recommended is the first option.
In case you don’t know which domain to choose, think of an easy one to remember. And, of course, that it is related to your brand or the products and services that you are going to offer on the web.
2) Choose a hosting
If you already have your domain, it is time to hire the hosting. The hosting will be the web hosting service where your WordPress will be installed.
Before doing so, review aspects such as: the security it offers, the type of hard drive, speed, space, whether or not it offers an SSL certificate, location of the servers and whether it allows an automatic installation of WordPress.
3) Access the panel of your hosting
Do you have the domain and hosting for your website? Access the hosting control panel and locate a section called applications. There you will find a list of all the ones that it allows you to install. Logically, choose WordPress and start the installation.
4) Follow the steps of the installation wizard
Next, you will have the help of the installation wizard of your hosting, which will guide you throughout the process. Throughout it, it will ask you for a series of data that you must complete:
- Location. In this field you will find a dropdown. You will need to choose the domain for which you want to install WordPress. The route section, leave it empty. The system will use the default options.
- Version. We advise you to choose the option that appears as recommended. As for the language, you will need to choose yours. And if it gives you a choice between clean installation or LSCache, stick with the first one.
- Setting. This is the longest part. You will need to provide a WordPress administrator username, a password, the administrator’s email, the name of their website and a subtitle. You can leave the rest of the options as they come.
After all this, it will only remain to click on the button: install WordPress.
5) Wait until the installation is complete
After completing the previous step, a progress bar will appear before you, indicating the status of the WordPress installation.
While it is in process, the ideal is not to touch anything else. Just wait for there to be no error.
6) Access your WordPress
Has the installation finished? You can now access your website using the data or credentials that you have added in the process. Whenever you want to access your WordPress dashboard, you must use the domain and add the /wp-admin/ ending at the end.
Ideally, before continuing with the work, you check that everything works correctly. In case you detect any problem, contact the support staff of your hosting. This is another aspect to consider when choosing one, stay with the one that offers 24-hour support in Spanish.
7) Install a theme
The first time you see your WordPress website live, it probably looks visually unappealing or unattractive. That is why the next step is to install a theme.
In this sense, if you dig a little deeper, you will find a very extensive library of WordPress themes. There are even marketplaces focused solely on it.
The most important thing when choosing one is that it does not slow down our website.
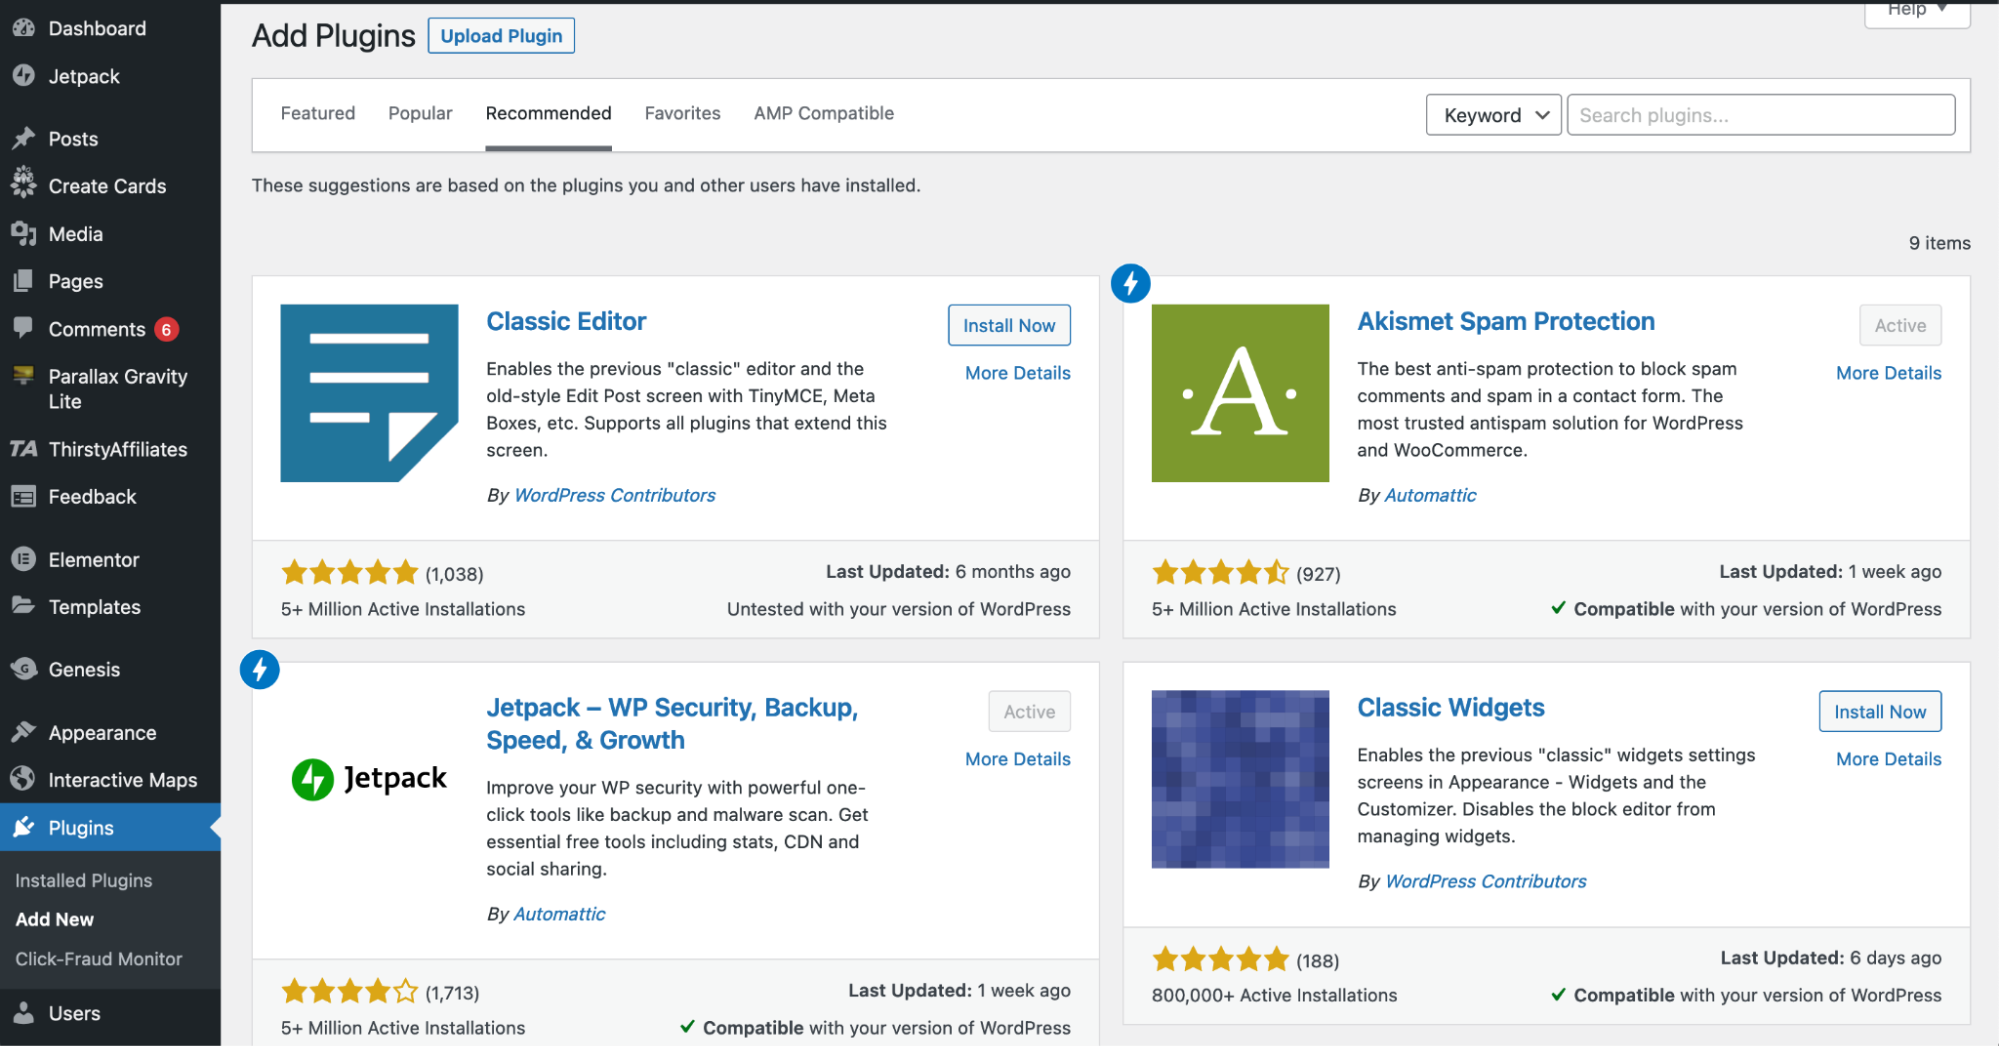
8) Complete the installation with the basic plugins
And to finish, in addition to the functionalities that you want to add to your website, it is necessary to install basic WordPress plugins that will improve its operation. For example:
- Elementor Page Builder. If you do not have programming knowledge, it will be of great help to make changes to your website.
- Updraft Plus. It allows you to make regular backups, download them and restore them, if necessary.
- Yoast SEO. It is extremely useful to optimize the SEO of your website.
- iThemesSecurity. If you are going to install plugins in your WordPress, this can not be missing. It will protect your website from intruders and bot attacks.
- Honeypot Anti-Spam. Another of the essentials is this, it helps you get rid of comments full of Spam.
- WP Rocket. It is one of the most well-known caching plugins and it is used to improve the speed of your page.
- WP Smush. Finally, to alleviate the weight of your images, you must have this other plugin. This will also help speed up your website.
Ready to install WordPress and start working with it? It is essential that you know that each hosting has its own installation process, but in general terms, the steps you must take are those described here.